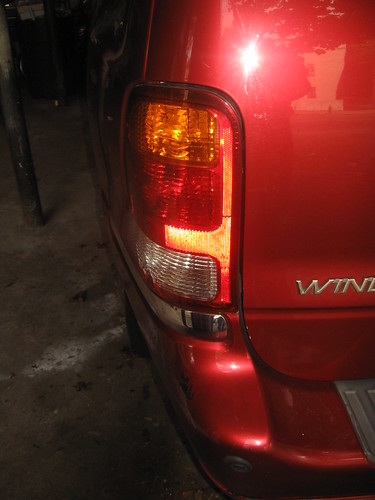
These are just some photo’s of me changing a brake light bulb on my wife’s 2000 Ford Windstar. It’s a fairly straight forward task. It took me about 15 minutes to do(and that’s probably stretching it). The only tool you’ll need is a Phillips screwdriver, well maybe you’ll need something to pry the light housing off too.

You’ll need to open the rear tailgate to access the housing. The bulb I used was a Sylvania Part No# 5157LL. I think different manufacturers may make them so check at your friendly local auto parts store for your vehicle.
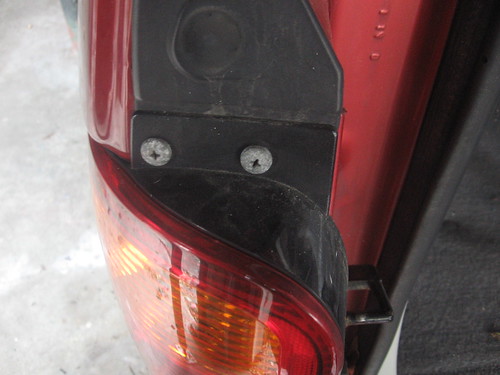
At the top off the taillight you’ll find to Phillips head screws. I think you know what to do here. Once the screws are are off you’ll have to pull the housing off. It’s held in by two tabs that have small metal clips that grab onto plastic tabs. Take care pulling it off as to not break the plastic tabs. Here is where I used a flathead screwdriver to pry it off. I did it because someone had put two of the metals clips where there was only suppose to need one. Obviously I think this taillight was replaced sometime prior to us owning the vehicle as I doubt this came from the factory like that.
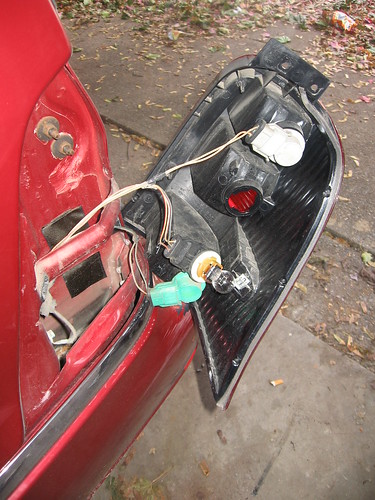
The brake light is located in the middle socket. A simple turn off the socket and you’ll have access to the bulb. Pull the old bulb off and replace with you new bulb. I tested it before putting it back together again just in case I had a dud. It worked great and I put it back together(without the extra clip) and all was good. Like I said before It only took me about 15 minutes to do and is a fairly simple job to do. Well I just thought I’d share this in case someone out there was wondering how this was done. Thanks for coming by and have a great day!