|
| New bumper shock bracket from Wolfsburg West. |
April was a busy month so not a lot was done with my Bug for a few weeks. My mother was hospitalized for a week with pneumonia which when paired with her ever present COPD made matters worse. Add on an extra week at home with intravenous antibiotics twice a day. To add on top of that my daily driver(2013 Ford Escape)needed expensive repairs(tax return disappears) to pass state inspection. Needless to say it didn't leave time for much else. Good news is that Mom is doing much better this week and car passed inspection and life is returning to to somewhat normal. which means more time for the Bug.
Before my tax return disappeared(see car repair above) I managed to order a pair of bumper shock brackets from
Wolfsburg West(click here to find them). They are the first I now to reproduce these late model(74-79) US only parts. Trying to find used ones wasn't always easy. I spotted them on sale last fall but had to wait for tax return season to purchase them. If you don't know when these shock mount are pushed in they can get stuck pushed in. I believe they were originally designed to return to original length but that obviously isn't always a reality.
 |
| One 13mm bolt removed and the bumper comes off easy(with some penetrating oil too). |
|
|
|
 |
| Comparing the new & the old.(rear bracket) |
 |
| Newly installed. Now my engine lid doesn't hit the bumper. |
Along with the bumper bracket I also purchased the related hardware for installation which also included a small U bracket that attaches inside the bumper. After pulling stuff apart I realized I could have reused much of existing hardware but I installed the new stuff anyway since I already had it.
 |
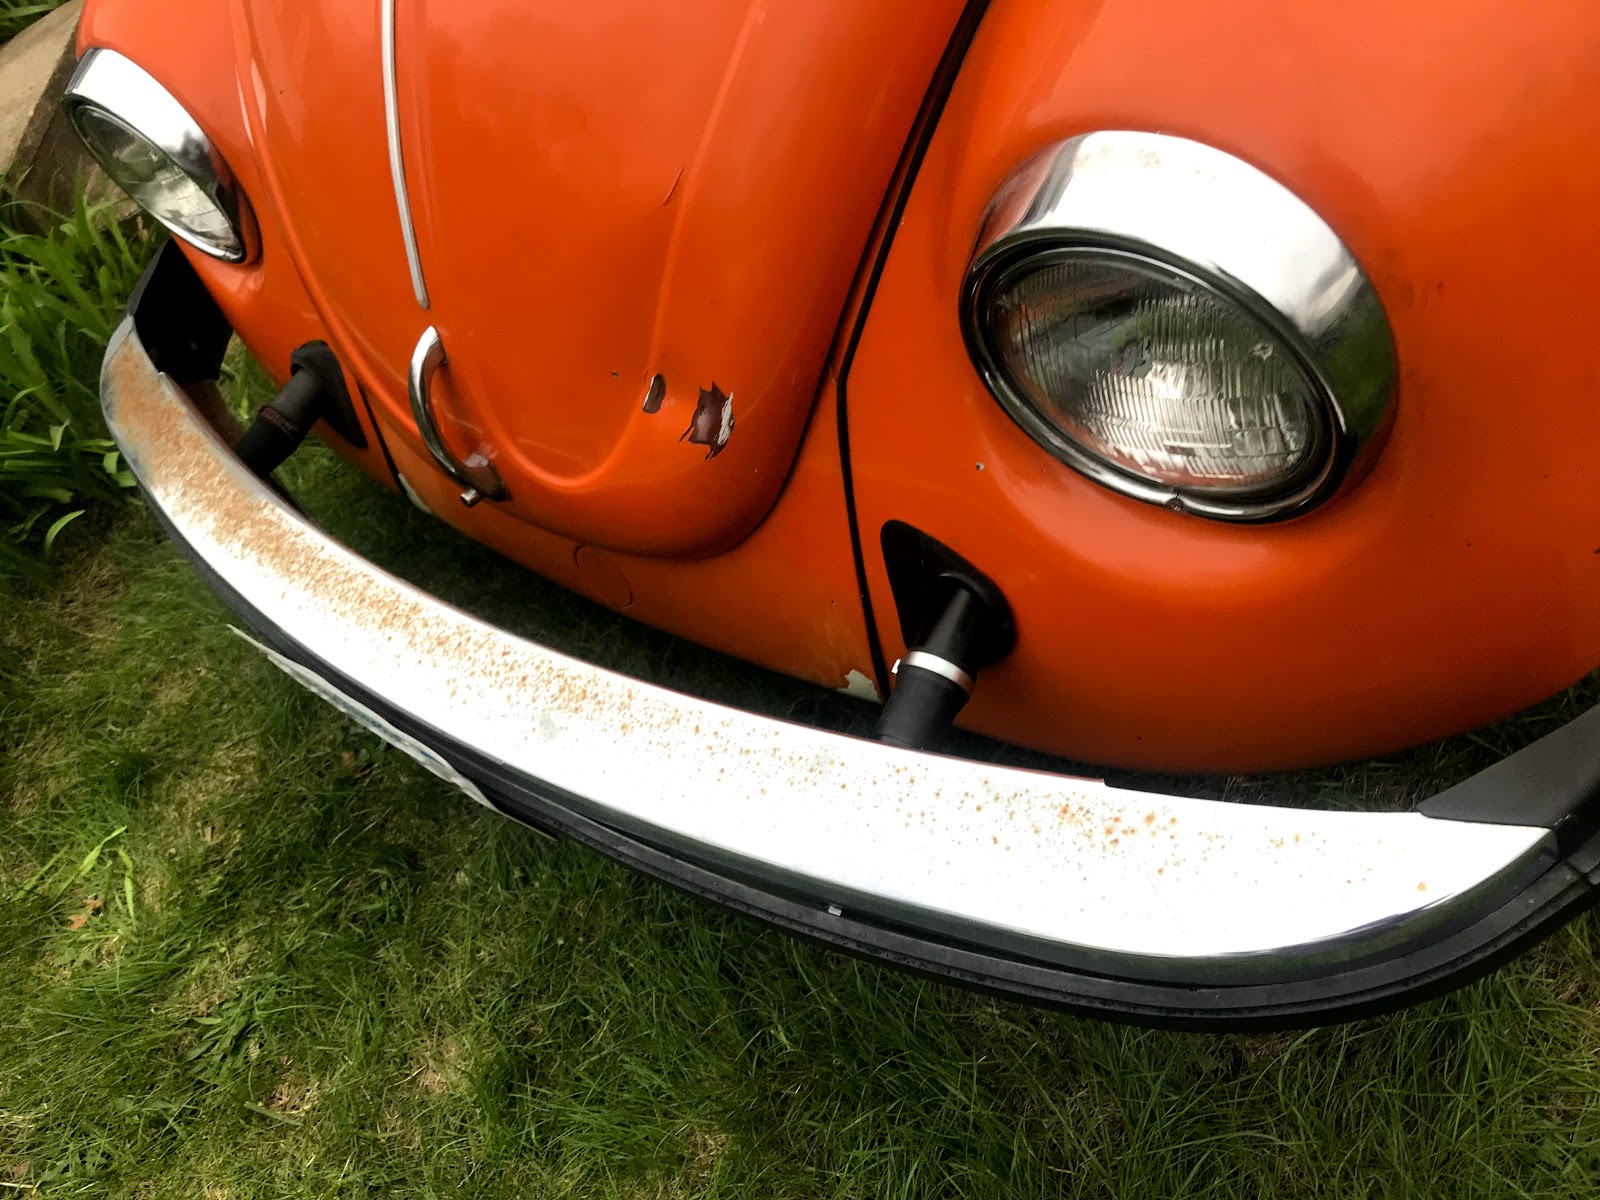
| The front bracket I had to work around the horn. |
|
 |
| The inside nut on the U bracket is welded in place. Just needed to remove the 13mm from outside the bumper. |
|
I removed the bracket using a combination of 13mm wrench or ratchet. Three 13mm bolts hold the bracket to the car inside the fender. I was able to reach it just laying on the ground. A 13mm is also needed to remove the U bracket from the outside of the bumper, if you still have the rubber strip on the bumper you'll have move it out of the way. There is a metal clip holding the strip on, I used a flat head screw driver to bend it open. Take it easy on the clip as they do break as I found out.
 |
| You can see how much this was pushed in. |
 |
| old vs. new(front bumper) |
|
 |
| Front bracket installed. |
I used a jack stand to prop up the bumper once I got it off. Once the three inner bolts were off I pulled out the bracket out of the hole. To remove the U bracket from the shock I used a pair of 3/4" wrenches. The plastic insert is easily removed and installed on new shock. The installation is pretty reversing everything in order. Like I said watch those clips on the rubber strips as they break easy. I haven't found anyone reproducing them without buying the whole strip which averages about a $100 which I'd rather not spend when it's just the clips I need.
 |
| Finished! |
 |
| One happy Bug! |
I also did the driver's side front and the only difference was that I had to work around the horn which was easy enough. All together it only took a few hours to do and the second one went a lot quicker as I already knew what I needed to do. Good luck if you should try this.