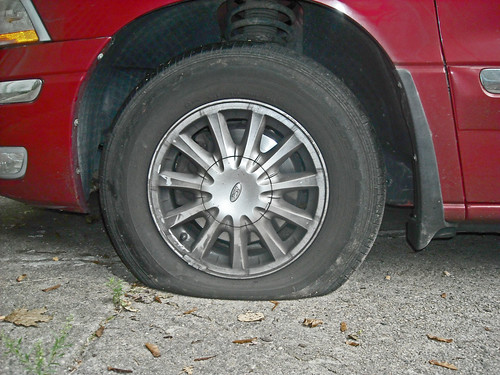
My wife asked me to check on one of her tires on her minivan. When I checked it I discovered it was completely flat. Being Sunday with few garages open I decided to change it and put the “donut” spare on until we can take the tire in to be checked and hope fully repaired. I’m just going to go through the steps I went through to change it.
Disclaimer: This is only a demonstration. Please consult your owners manual and use all safety precautions possible.
First step I took was to locate the spare and check the condition. On the Windstar it is located under the vehicle behind the rear bumper. I then consulted the owners manual on how to lower the spare to the ground.
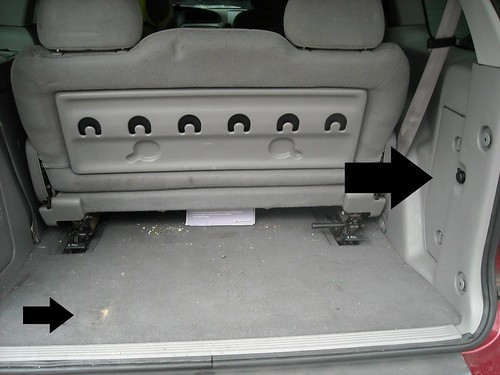
To lower the tire I had to turn a nut located under a plastic cover(near left arrow) with a the lug wrench. This brought up a second question, Where is the jack and lug wrench. It is located in a compartment on the right hand side of the vehicle(near large right hand arrow).
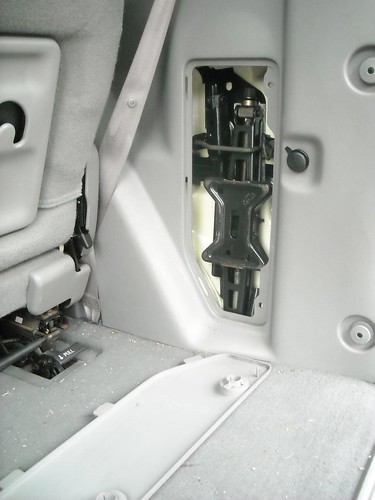
Turn the two knobs and the door will flip open to reveal your jack and lug wrench. Unscrew the hold down bracket to remove them.

I popped open the plastic cover to reveal the nut that lowers the spare.
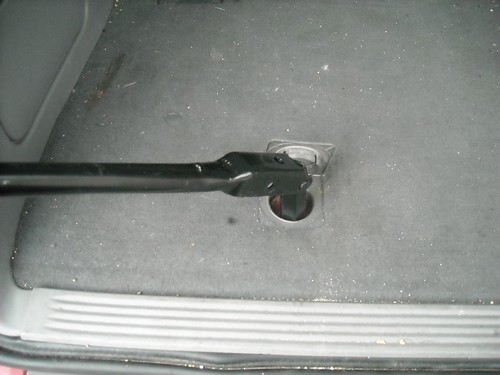
Attaching the lug wrench I then turned in a counter clockwise direction to lower the tire.
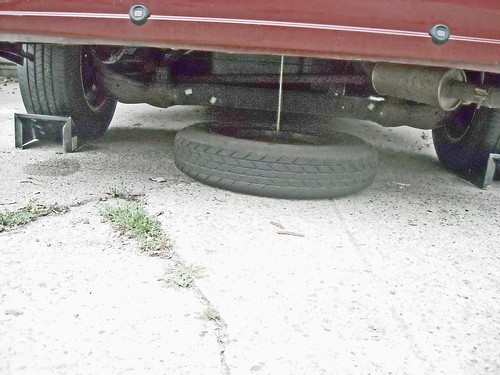
After lowering it to the ground I removed it from the cable. I had to tap on center hole to break it free from the rust and debris.
Before starting on the tire I took some basic precautions like chocking the wheels and applying the handbrake.
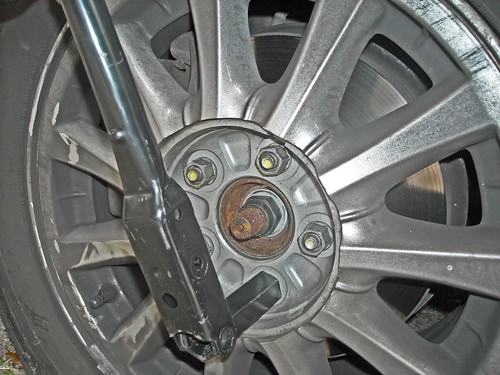
Then I popped the center cap off. I loosened the lug nuts first but, left them on.
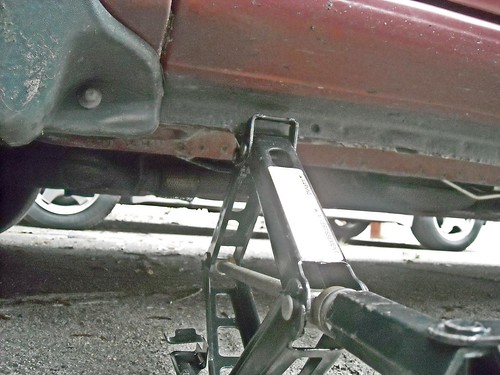
The owners manual tells me to locate the jack in a notch behind the wheel. Unfortunately the authors of the manual forgot to tell the engineers to put one in. I placed the jack about 6-8 inches behind the wheel and jacked the vehicle up.
Then I removed the lug nuts after raising the vehicle high enough to take the tire off. With both hands I removed the tire and replaced it with the spare. I replaced the lug nuts and snugged them up before lowering the vehicle.
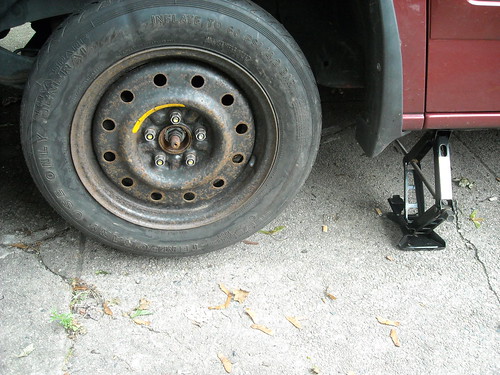
After lowering to the ground I tightened up the lug nuts again. Then inspected the tire to see if I could find the leak. We’ll be taking it to the shop to have them take a look at it and possibly repair. One must remember that these tires are only temporary should be rode on sparingly.
No comments:
Post a Comment