Looks like a fun ride. Driver sure gets a workout with the steering wheel. Enjoy!
Thursday, February 27, 2020
Wednesday, February 26, 2020
VW Cabriolet: Skip's Fiesta Drive-in Series by Revell (Kit 7151)

I recently finished up a scale model of VW Cabriolet by Revell. This isn't really a deep review but just some thoughts on the kit itself. It is the VW Cabriolet by Revell and is KIT 7151 and is a 1/25 scale model of a early 70's(no specified year is given) Volkswagen Cabriolet. It is part of a series called "Skip's Fiesta Drive-in Series" which when I Googled it came up with several other kits featuring Corvette's, Camaro's Ford's and etc... It was also a real place at one time in the suburbs of Chicago that was a popular hot rod hang until the early 70's.

I picked this this kit up for discount because it appeared slightly crushed and possibly some minor water damage. It was opened but all the parts appeared to be there. The parts were all in zip lock bags so it was opened at some time.

I've built many kits in my youth but took a lot of time off in between. I've just recently got back into and so I'm still working on my skills.
 |
| Color: Testor's 1631 Gloss Custom Purple Metal Flake |

Part of the reason I picked this one up as I own a real Volkswagen Beetle so I thought this would be a fun kit....so I thought.

It came molded in "Newport Green" with plated and clear parts. I wasn't a fan of that color and my girlfriend suggested purple so ended up with a metallic purple by Testors. I'm still working on my painting skills.

Although it came out looking okay but it was a frustrating kit in many ways. First was parts seemed to fit poorly together and had a lot of excess "flash" to clean off. The engine in particular had poor detailing and looked terrible. The exhaust manifold pipes were a pain. The whole rear engine compartment and firewall fit poorly together with the body. I had to clamp the inside door panels to wait for the glue to dry to body. Ended up having to do some paint repair on the outside because of this. The chassis fit poorly so all four wheels still won't touch ground.

On a side note the cover shows the Bug bumper-less but the kit comes with bumpers and holes in the body for them. The instructions don't even mention these nor instructs you how to fill in these holes. Obviously some minor puttying and sanding would take care of this but just found it odd. This might be a little puzzling or intimidating to a beginner. It didn't bother me because I actually prefer the bumpers.
 |
| You can see the paint damage I had to repair(this was my error). |
It did have some good points. The interior is decently detailed as far as the dash and door panels go.The body is decently detailed but seems be vague as far as being close to original styling. Obviously this represented a custom Bug so they were loose with the authentic details. I liked the option of the convertible top up or down.

This Bug took me close to a year to finish, I did take a lot of time away from it but I didn't have a lot of fun doing this one so I didn't feel a lot incentive to make time for this. Over all I wasn't impressed with it as far a fit and finish. Unless you're a collector of these kits or a fanatic VW Beetle enthusiast that has to have it I'd probably stay away from this one.
Wednesday, September 4, 2019
Tuesday, August 13, 2019
Replacing Brake Light on 2013 Ford Escape
Recently I had to take my daily driver, a 2013 Ford Escape on a long day trip to pick up my oldest son in Philadelphia. It was a about a 5-6 hour trip each way. Part way on the trip down from Massachusetts one of my brake lights went out. Of course being a relatively modern vehicle it tells on my dash. Of course midway thru the trip I had no way to fix it with not tools or time to fix it I had to hope I wasn't pulled over by a observant officer of the law until I got home.

Well I did make it home and the next day I went down to the local O'Reilly Auto Parts and picked up a new brake bulb. I did a quick search on Youtube and sure enough I found someone changing a brake bulb on a Ford Escape like mine which was very helpful
All of what I needed was an 8mm socket with a long extension and a small ratchet, a flat head screw driver. The bulb I used was a Sylvania 3157.


First you have to open the rear hatch. There are two bolts under two round plastic caps to remove the tail light. They must be pried off. I used a worn screwdriver with a narrow blade. This will work but it did mangle one of the caps so use care when prying off.


Using your 8mm socket you remove these two bolts. They're not torqued down much so they come off fairly easy. Now the only thing holding in the housing on is a clip that is under the forward part of the taillight. It's just pressed in but takes a some pushing force towards the rear of the vehicle. This is kind of tricky as their is only one set of wires going to housing and you don't want to yank and damage them either. I'd advise watch the above video I've posted above. With the the palm of one hand tried and hit towards the rear of the vehicle while using your other hand preventing it from flying off when it suddenly comes free. Please watch the above video first before attempting.

 |
| This is clip under the taillight. |
Once off their is one connector that easily pulls off and you can easily change the bulb(brake or reverse light) you need. I replaced the brake bulb on mine which just required a quarter turn and pulled out the defective bulb and replaced it.
 |
| Only one connector to the housing. |


Then to reinstall you just do everything in reverse. The whole process, once I got everything together, was maybe 20-30 minutes. When you restart the brake light bulb warning may reappear momentarily. I just tapped the brakes once and the dash warning disappeared. I hope this helps and don't be afraid to check out the attached YouTube video as I found it very helpful. This process you can also change your back up bulb too. Thanks for coming by.
Wednesday, May 1, 2019
Back to the Bug
 |
| New bumper shock bracket from Wolfsburg West. |
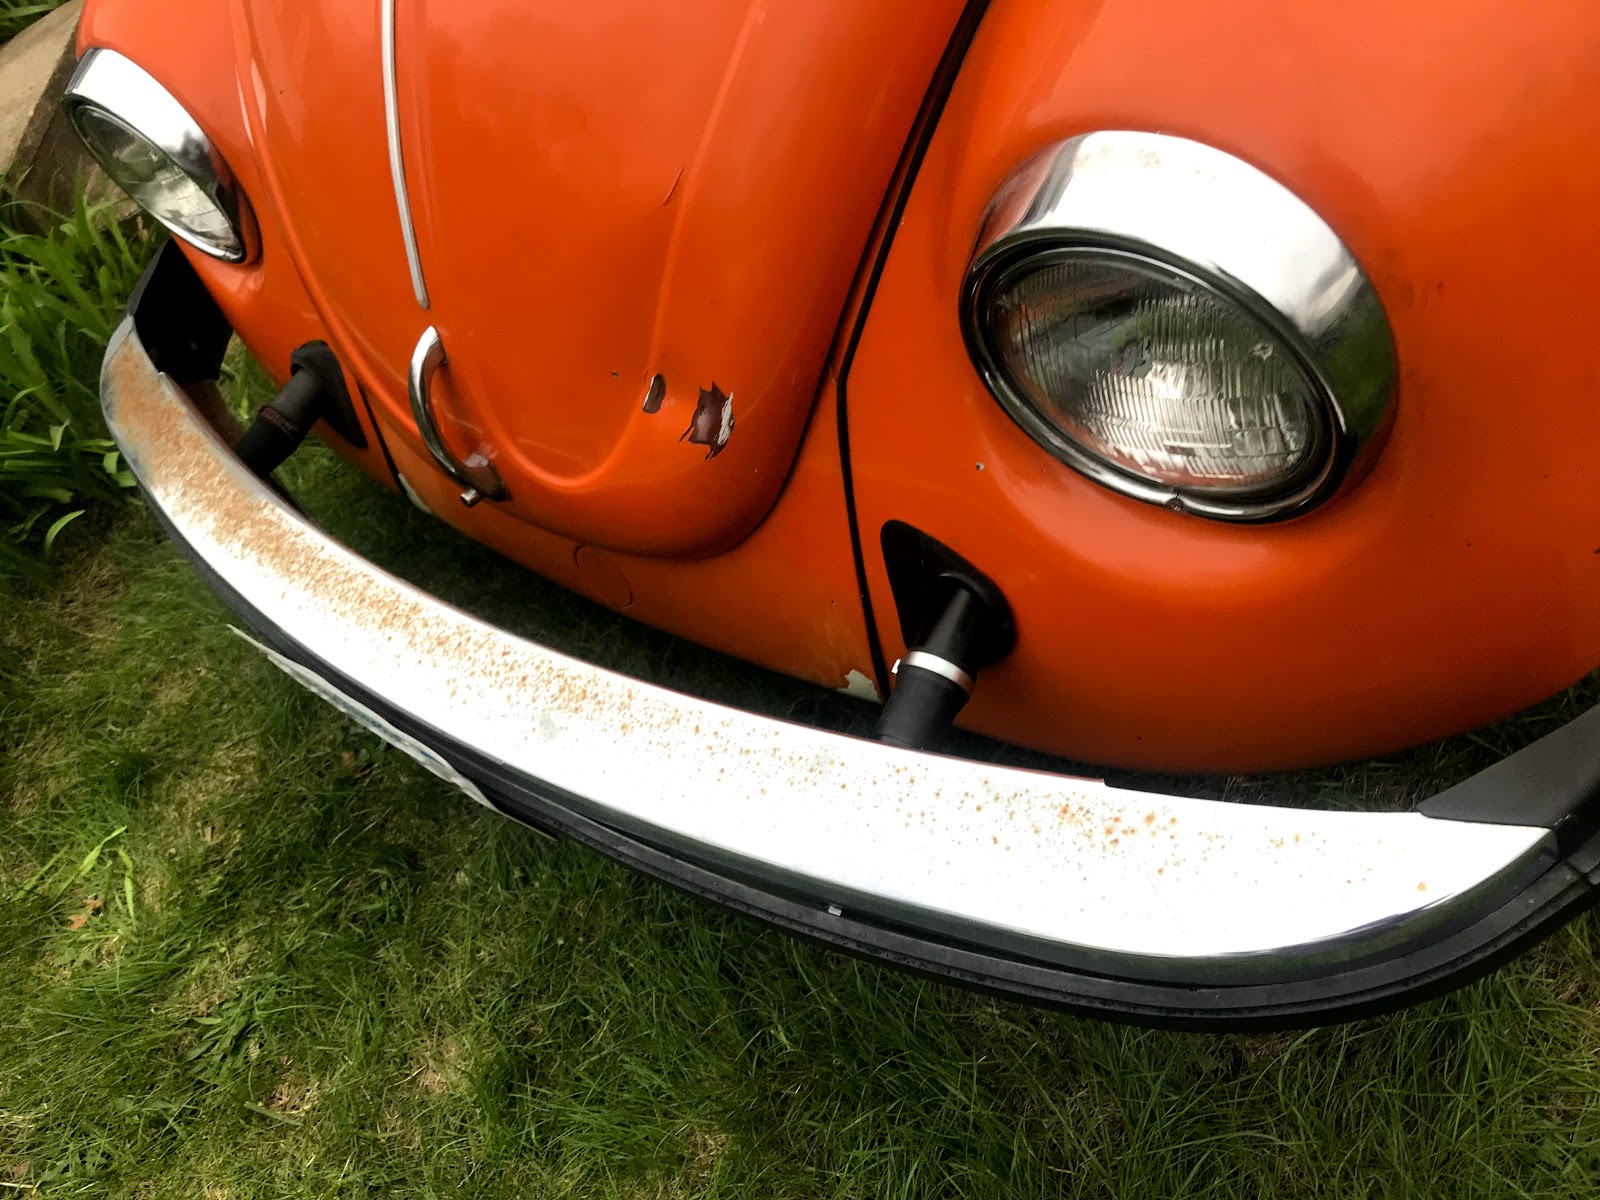
April was a busy month so not a lot was done with my Bug for a few weeks. My mother was hospitalized for a week with pneumonia which when paired with her ever present COPD made matters worse. Add on an extra week at home with intravenous antibiotics twice a day. To add on top of that my daily driver(2013 Ford Escape)needed expensive repairs(tax return disappears) to pass state inspection. Needless to say it didn't leave time for much else. Good news is that Mom is doing much better this week and car passed inspection and life is returning to to somewhat normal. which means more time for the Bug.
Before my tax return disappeared(see car repair above) I managed to order a pair of bumper shock brackets from Wolfsburg West(click here to find them). They are the first I now to reproduce these late model(74-79) US only parts. Trying to find used ones wasn't always easy. I spotted them on sale last fall but had to wait for tax return season to purchase them. If you don't know when these shock mount are pushed in they can get stuck pushed in. I believe they were originally designed to return to original length but that obviously isn't always a reality.
 | |||
| One 13mm bolt removed and the bumper comes off easy(with some penetrating oil too). |
 |
| Comparing the new & the old.(rear bracket) |
 |
| Newly installed. Now my engine lid doesn't hit the bumper. |
Along with the bumper bracket I also purchased the related hardware for installation which also included a small U bracket that attaches inside the bumper. After pulling stuff apart I realized I could have reused much of existing hardware but I installed the new stuff anyway since I already had it.
 | |
| The front bracket I had to work around the horn. |
 | |
| The inside nut on the U bracket is welded in place. Just needed to remove the 13mm from outside the bumper. |
I removed the bracket using a combination of 13mm wrench or ratchet. Three 13mm bolts hold the bracket to the car inside the fender. I was able to reach it just laying on the ground. A 13mm is also needed to remove the U bracket from the outside of the bumper, if you still have the rubber strip on the bumper you'll have move it out of the way. There is a metal clip holding the strip on, I used a flat head screw driver to bend it open. Take it easy on the clip as they do break as I found out.
 |
| You can see how much this was pushed in. |
 | |
| old vs. new(front bumper) |
 |
| Front bracket installed. |
I used a jack stand to prop up the bumper once I got it off. Once the three inner bolts were off I pulled out the bracket out of the hole. To remove the U bracket from the shock I used a pair of 3/4" wrenches. The plastic insert is easily removed and installed on new shock. The installation is pretty reversing everything in order. Like I said watch those clips on the rubber strips as they break easy. I haven't found anyone reproducing them without buying the whole strip which averages about a $100 which I'd rather not spend when it's just the clips I need.
 |
| Finished! |
 |
| One happy Bug! |
I also did the driver's side front and the only difference was that I had to work around the horn which was easy enough. All together it only took a few hours to do and the second one went a lot quicker as I already knew what I needed to do. Good luck if you should try this.
Subscribe to:
Posts (Atom)